















How to Prepare Artwork Files for Apparel Printing and Decoration? File Requirements for Embroidery, Screen Printing, DTG and DTF
We’ve gathered the key guidelines for preparing print-ready artwork files for apparel decoration - from file formats and color setup to minimum detail sizes.
Whether you’re working with embroidery, screen printing, DTG or DTF, you’ll find practical recommendations here to help speed up quotation, artwork verification and production.
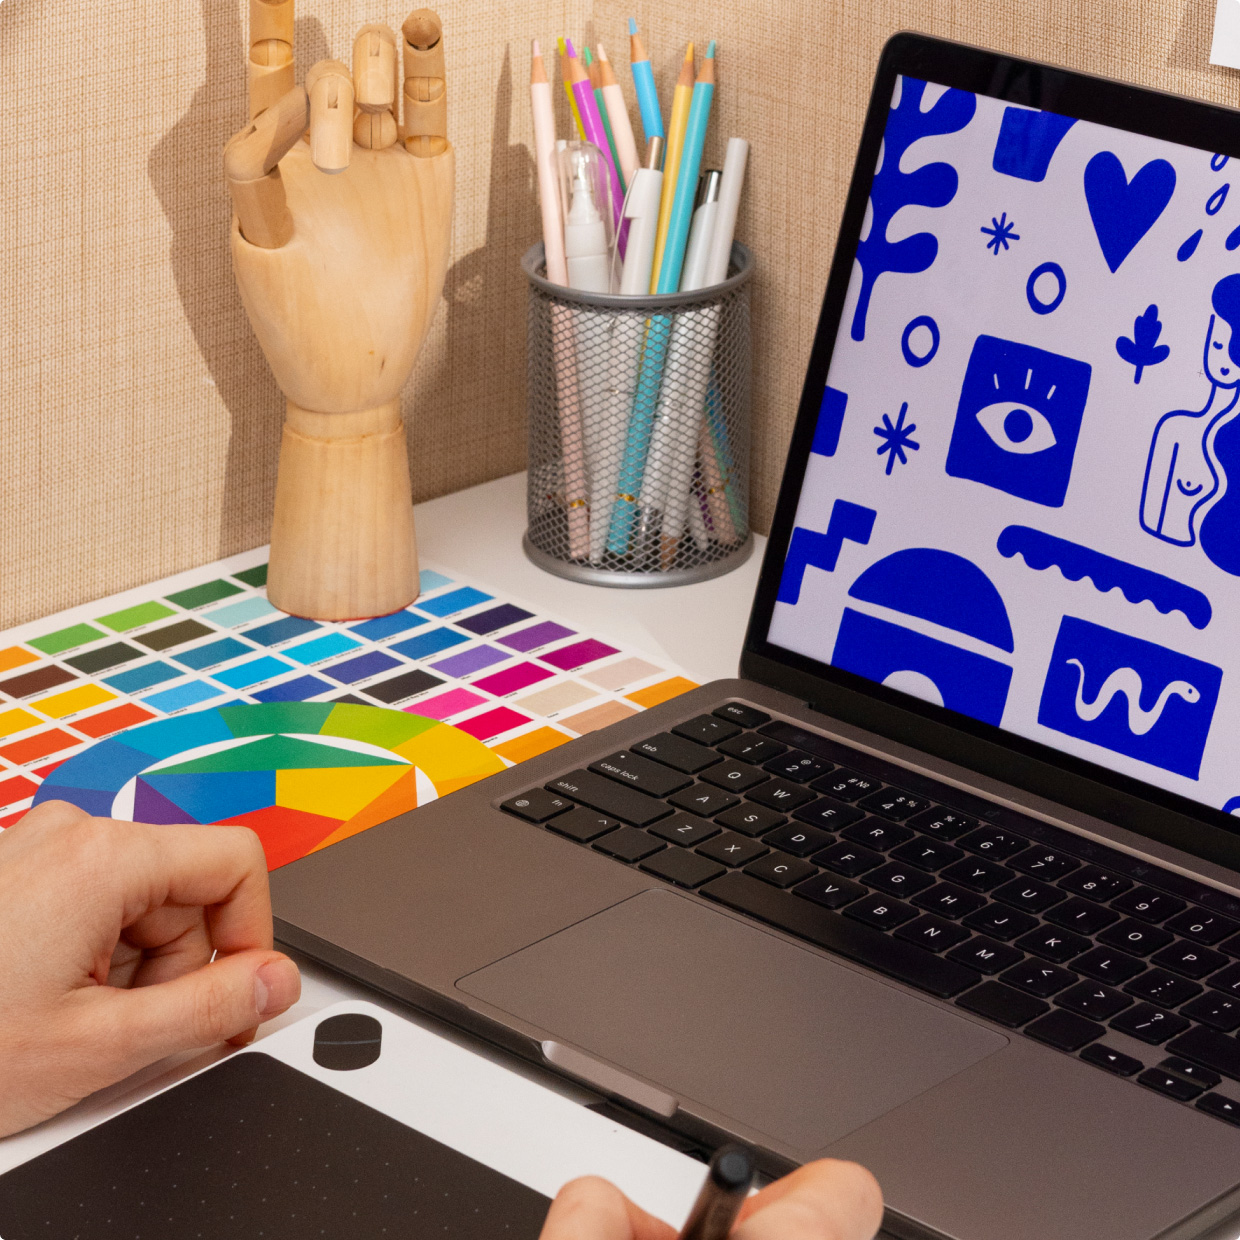
Choose a Decoration Technique and Check the Artwork File Requirements ↓
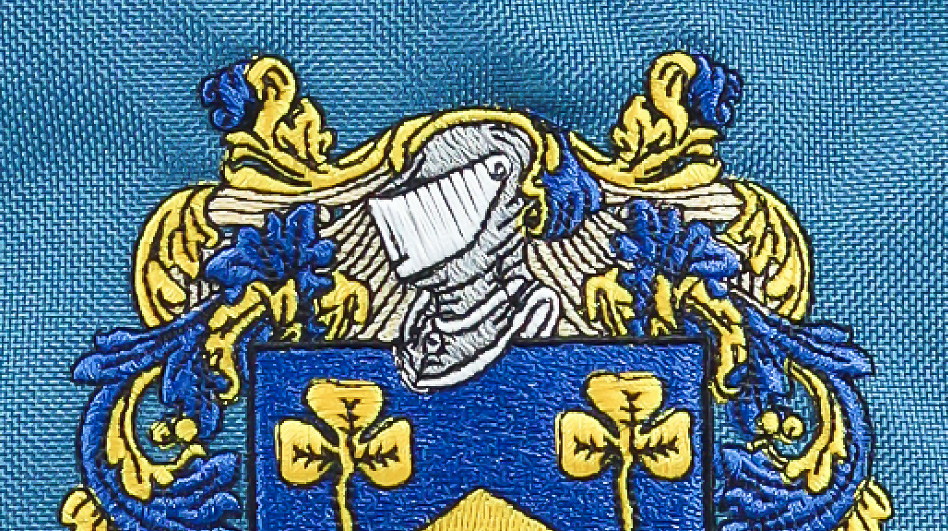
Embroidery File Requirements
Best suited for elegant logos on corporate apparel such as polo shirts or caps. It delivers a durable, premium finish that works especially well for clean, simple designs.
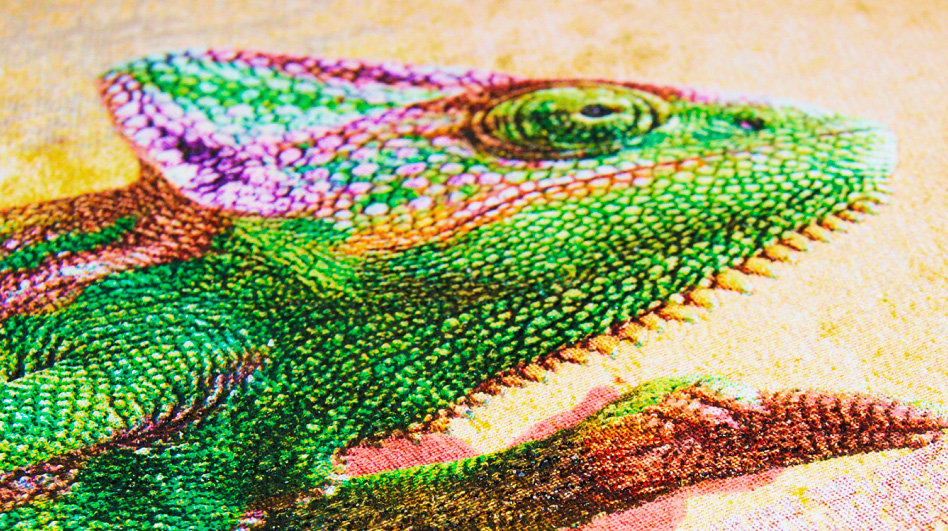
Screen Printing Artwork Requirements
Ideal for larger production runs and designs based on brand colors. It offers high quality, strong color consistency and repeatability while maintaining a competitive unit price.
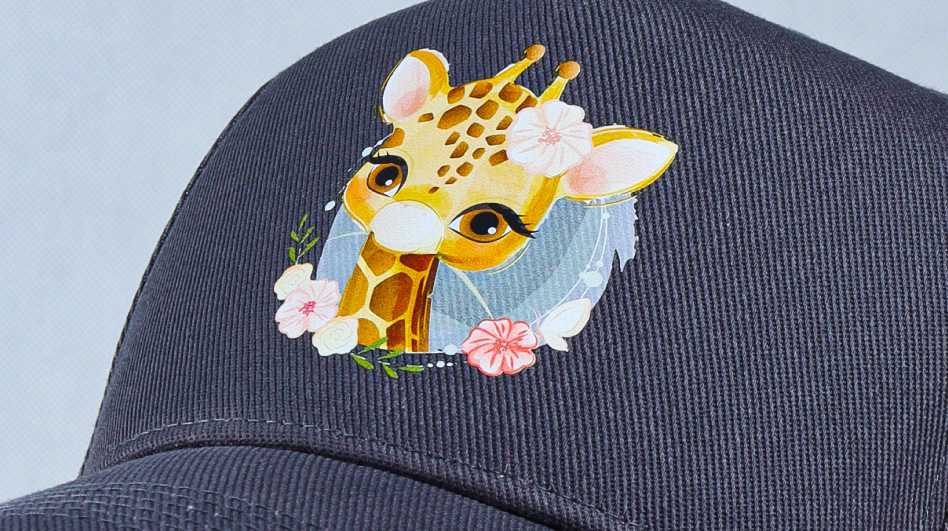
DTG & DTF Print File Requirements
A great choice for designs with multiple colors, tonal transitions and fine details. Perfect for smaller runs and artwork that requires maximum reproduction freedom.
Check Before Sending Your File to Production
EMBROIDERY / SCREEN PRINTING
Raster files instead of vector files
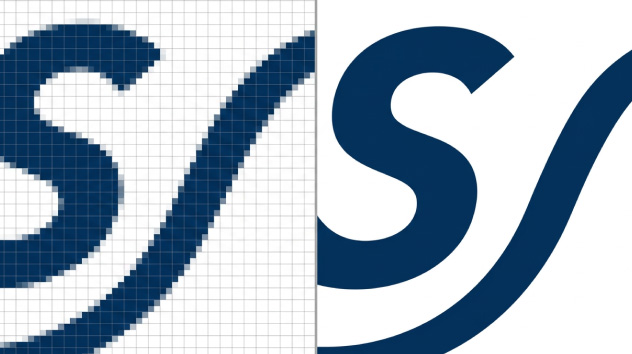
EMBROIDERY / SCREEN PRINTING
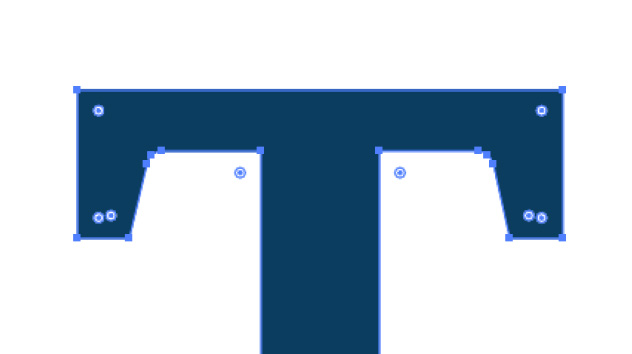
Fonts not converted to outlines
EMBROIDERY / SCREEN PRINTING / DTF & DTG
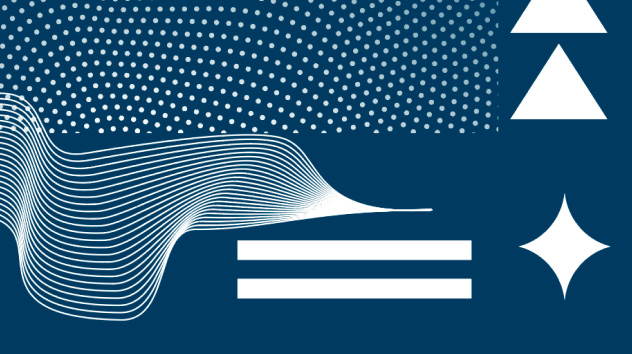
Details and text that are too small
EMBROIDERY / SCREEN PRINTING
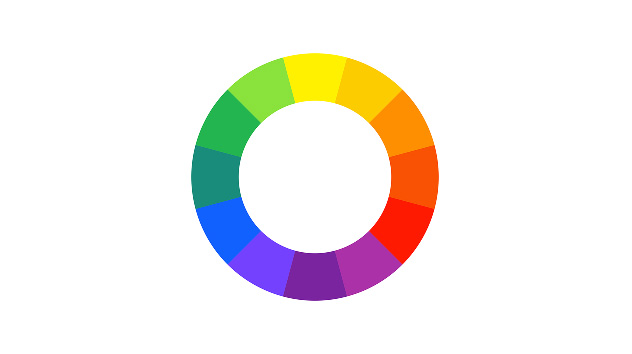
Incorrect color space
EMBROIDERY / SCREEN PRINTING
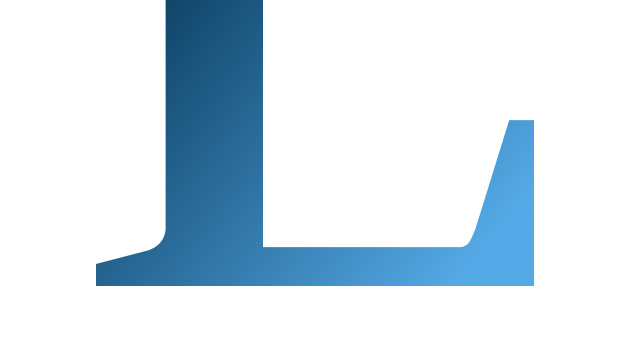
Tonal transitions / gradients
EMBROIDERY / SCREEN PRINTING / DTF & DTG
Not enough information provided

How to Prepare a Vector File for Printing

Vector file in PDF, AI or EPS format

Colors defined in Pantone Solid Coated

Text converted to outlines (no fonts included)

No gradients (permitted only for simulated process printing) or transparency in the artwork

Artwork prepared at 1:1 scale - final print size

Preview on a grey background for white elements
How to Prepare a Raster File for Printing

File in PSD, PDF, AI, EPS, JPEG, PNG or TIFF format

Recommended color space: CMYK
Text converted to outlines (applies to vector files)
1:1 scale and minimum resolution of 300 DPI
Preview on a grey background for white elements
Podgląd na szarym tle przy białych elementach
How to Prepare Artwork for Embroidery on Headwear

Small sans-serif letters should be at least 6 mm high. Applies to caps with a peak

Small serif letters should be at least 7 mm high. Applies to caps with a peak

Minimum height for small lettering: 7 mm. For beanies, scarves, sweaters and fleeces

Minimum line thickness in the artwork: 1 pt / 0,4 mm

™ and ® symbols should be at least 4–6 mm high, depending on the product type
Podgląd na szarym tle przy białych elementach
*All other artwork requirements remain unchanged: please supply the design in vector format, at a 1:1 scale, with all text converted to outlines and colours specified as Pantone Solid Coated or Madeira thread colours
Decoration technique: Screen Printing, Simulated Process Printing
01 / Embroidery
| Parameter | Guidelines | Important Notes |
| File type | Vector file (.ai, .eps, .pdf) | Do not use bitmaps or gradients. |
| Color setup | Madeira Polyneon / Pantone Solid Coated | Maximum 15 thread colors. You can use the Pantone to Madeira converter. |
| Line thickness and minimum gap between printable elements | Minimum 1 pt (0.4 mm) | Special characters (™, ®, ©) must be at least 4–6 mm high. |
| Lowercase letter height (standard) | Sans-serif: min. 5–6 mm Serif: min. 7 mm |
Applies to smooth fabrics, such as T-shirts or lightweight sweatshirts. Remember to convert all text to outlines. |
| Lowercase letter height (difficult materials) | Sans-serif: min. 6–7 mm Serif: min. 7 mm |
On thicker materials, such as caps or polo shirts, details may “get lost”, so larger sizes are required. Convert all text to outlines. |
| Artwork scale | 1:1 (final size) | Prepare the file at the final production size to avoid scaling and potential errors. |
| Final notes | PDF preview | If the artwork contains white, add a preview on a grey background to make verification easier. |
02 / Screen Printing
| Parameter | Guidelines | Important Notes |
| File type | Vector file (.ai, .eps, .pdf) | For simulated process printing, gradients and bitmaps are allowed. In all other cases, use clean vector files only - without gradients. |
| Color setup | Solid colors: Pantone Solid Coated Simulated process printing: full color range |
If you do not have assigned Pantone colors, let us know, we can help match them. |
| Line thickness and minimum gap between printable elements | Minimum 0.4 mm | Special characters (™, ®, ©) must be at least 4 mm high. |
| Lowercase letter height | Minimum 10 pt (2.6 mm) | Remember to convert all text to outlines to avoid font-related issues. Bitmap artwork is permitted for simulated process printing. |
| Smallest text element | 1 mm diameter | Very small elements may become unreadable. Keep the minimum sizes and convert text to outlines. |
| Spacing between letters on colored garments | Minimum 1 mm | Ensure proper spacing. If the “open space” is too small, the letters may merge, especially on colored fabrics. |
| Artwork scale | 1:1 (final size) | Prepare the file at the final production size to avoid scaling and quality loss. Use a resolution of 300 dpi for bitmap artwork intended for simulated process printing. |
| Final notes | PDF preview | If the artwork contains white, add a preview on a grey background to make verification easier. |
03 / Digital Printing or Transfer (DTG & DTF)
| Parameter | Guidelines | Important Notes |
| File type | Vector and bitmap artwork, e.g. PSD, JPG, PNG, EPS, AI, PDF, SVG, TIFF | We support most popular file formats. Make sure the file is high quality and ready for printing. |
| Color setup | CMYK or RGB color space | Recommended color space: CMYK. If you use Pantone colors, they will be converted to CMYK, so the final result may vary slightly. |
| Resolution | 300 DPI | 300 DPI applies to 1:1 scale. Lower resolution may affect print quality. |
| Line thickness and minimum gap between printable elements | DTF: min. 0.5 pt / 0.18 mm – 1 pt / 0.4 mm DTG: no defined minimum |
Depending on the fabric and the selected printing technique. Special characters (™, ®, ©) must be at least 3 mm high. |
| Letter size | Minimum 7-12 pt (2.4-4 mm) | For small text, readability depends on the fabric. In vector files, convert all text to outlines. |
| Artwork scale | 1:1 (final size) | Prepare the file at the final production size to avoid scaling and quality loss. |
| Final notes | PDF preview | If the artwork contains white, add a preview on a grey background to make verification easier. |
Decoration technique: Screen Printing, Simulated Process Printing
Repeating a Previous Design?
Let your account manager know, we’ll be able to refer back to the previous setup faster and keep the decoration consistent.
A Visual Mockup Is Not Enough
Mockup files are often not prepared at 1:1 scale or may be too low in quality. Please attach the production-ready artwork file.
Not Sure About Your File? Let’s Check It Together!
We’re here to make the process easier. Send us your artwork, we’ll review the file, recommend the best solution and match the right decoration technique to your design.